


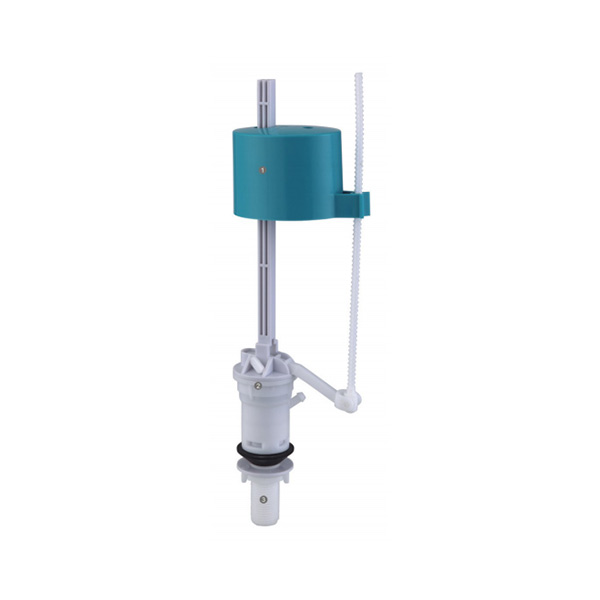
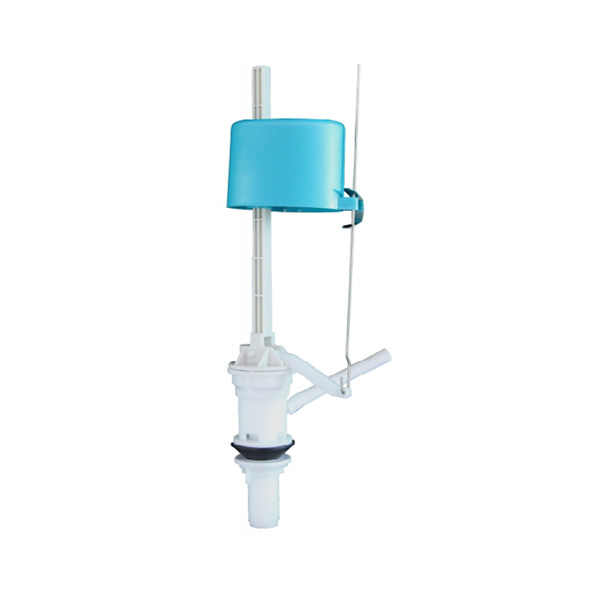

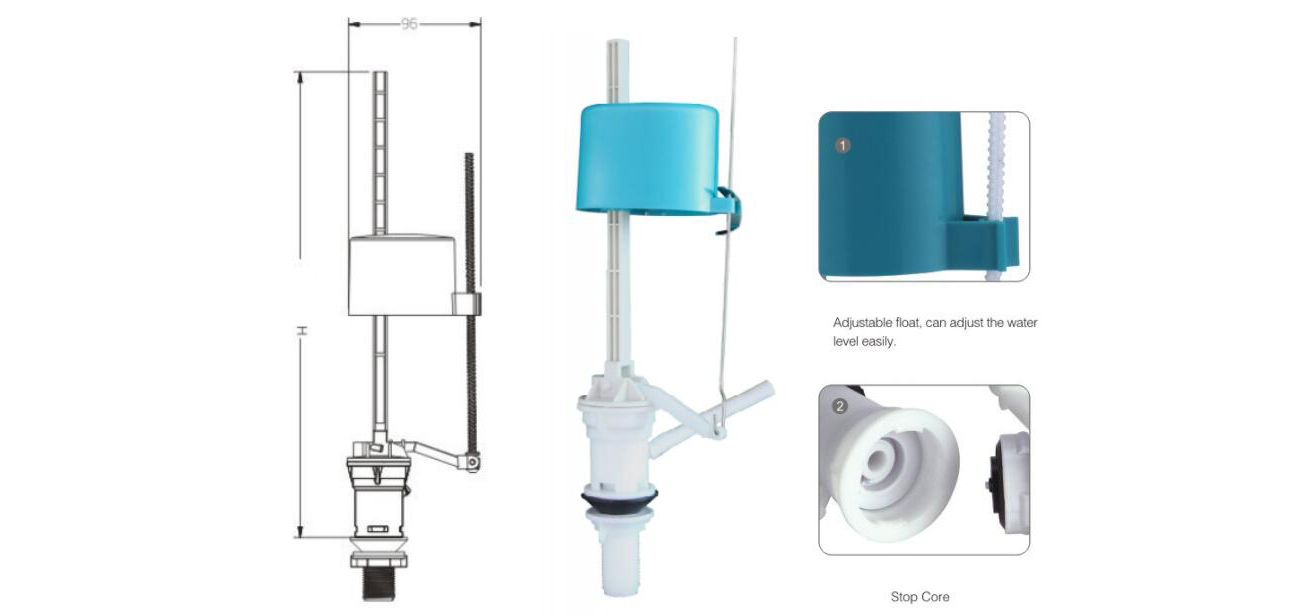
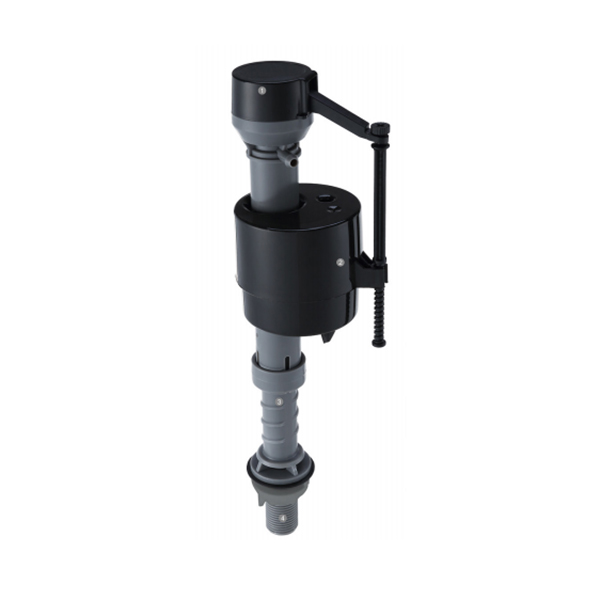
G1/2”Embedded Filling Valve with fast filling anti-backflow device for plastic and ceramic toilet tank
Product Description
| Name: | Water inlet valve for toilet tank. |
| Type: | A0002 |
| Brand: | ycm |
| Origin: | Xiamen,China |
| Usage: | Manual installation |
| Material: | POM |
| Product category: | Inlet valve |
| Processing mode: | Production of the packaging |
| Color: | Green or Blue |
| Specifications: | G1/2” or 15/16” |
| Flushing control mode: | Hand press type |
| Performance: | Water tank water |
| Activity type: | The toilet water tank |

Water tank fittings water valve, toilet water tank installation water valve
What is the cause of the water leakage valve in the toilet?
Cook inlet valve is actually the reason for the floating ball insensitive lifting work, can not guarantee normal complete row need water, the water or cannot control the water inlet valve, water supply, water kept in more than water tank of water, causing water above the forward drain valve nozzle flow into the urinal, even will flow to the ground.It is found that such problems need to be overhauled and replaced with water inlet valve accessories.Wan master below small make up teach you a economic and affordable toilet fill valve leakage disassembly maintenance, flush toilet water inlet valve not only repair methods, and explain the principle of the toilet water inlet valve can be better understand the repair process.
Leakage of the water valve in the toilet is not limited to water removal and maintenance steps:
1. Remove the inlet valve of the blue integral on the left side.(if the water inlet valve is leaking)
2. Take off the toilet water valve cap.
3. Remove the part of the white link point above the inner part.
4. Separate the two parts and remove them counterclockwise, with the help of small pliers.It's going to be clockwise, so you can put it on.
5. This part of the pipe is the key.
6. Install the transparent rubber ring and install it properly. If the installation is incorrect, the transparent rubber ring can not be screwed up.
7. Then connect the other parts.
8. This part of the bottom can be broken down again. If you don't pass the water, it is here.To try it, use the shower head in the bathroom and take it down to the bottom of the fill valve.
9. Turn on the shower switch and water.Lifting the float, the water stopped and the proof was fixed.Originally in the toilet, the inside float to bring up the water also can not stop.
Products categories
-
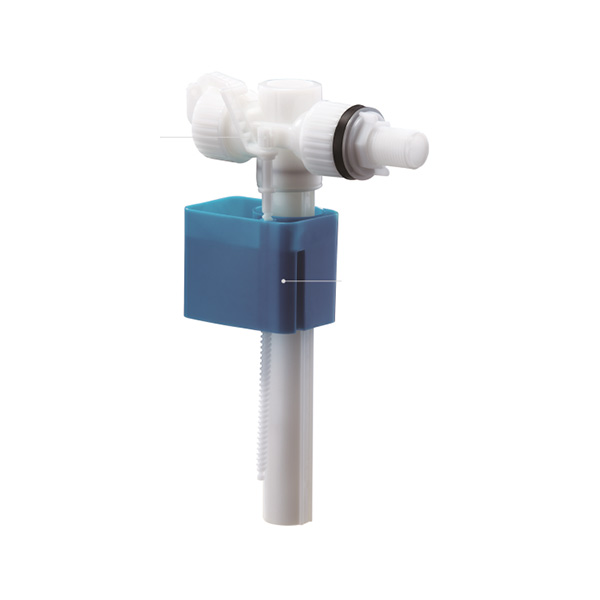
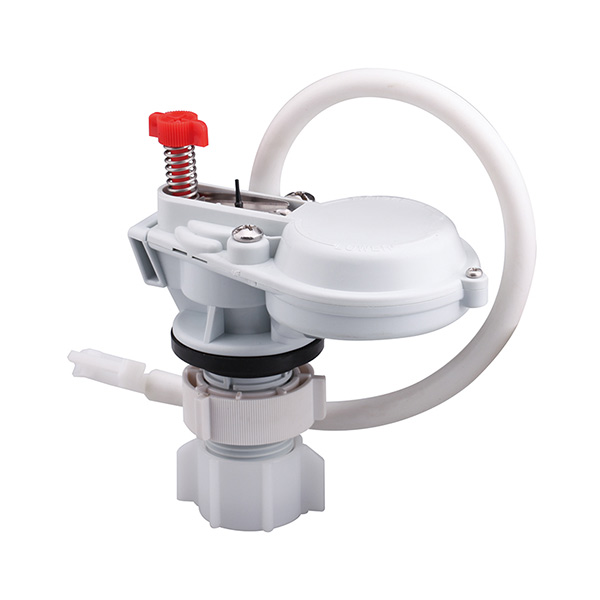
Side Filling Valve with 100% Anti-Siphon design...
-
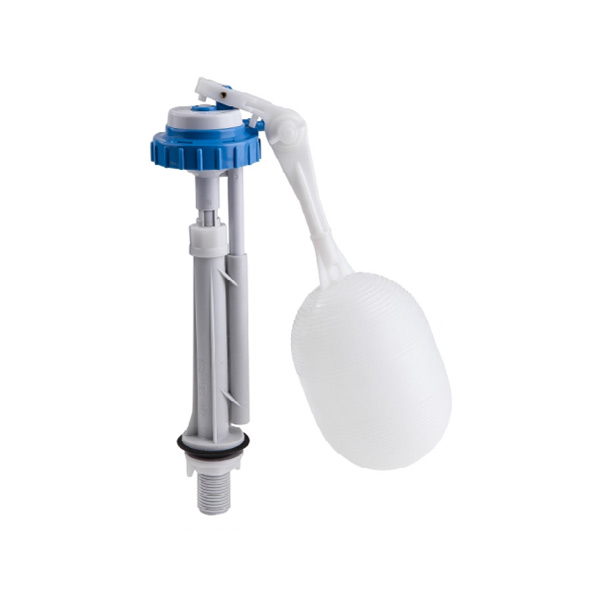
Ball Float Filling Valve medium Pressure Toilet...
-
Mini Pilot Anti-Siphon with unique design for T...
-
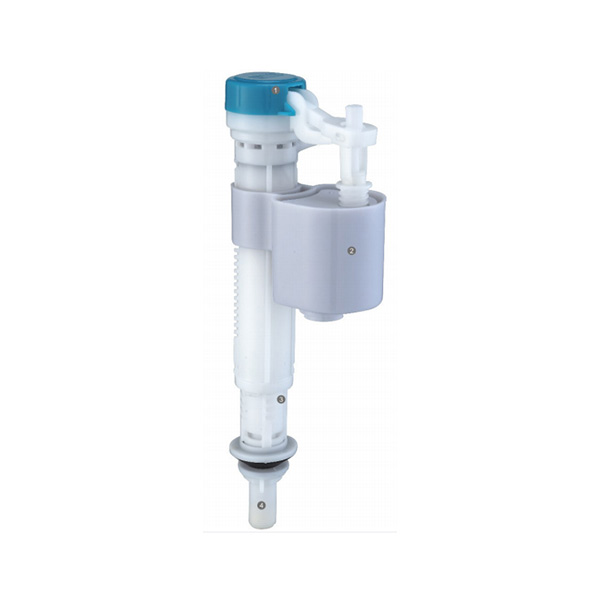
1.6Mpa G1/2”thread adjustable filling valve in ...
-
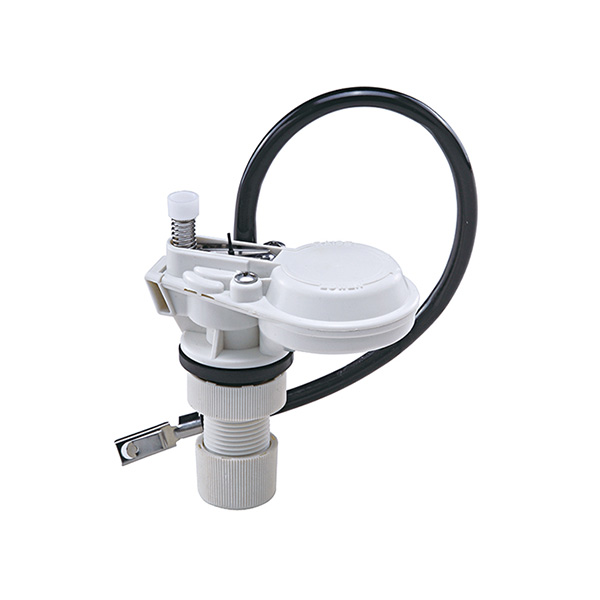
Specil Mini Pilot Anti-Siphon Toilet filling va...
-
Toilet parts cistern fittings height adjuatable...


